NEW:
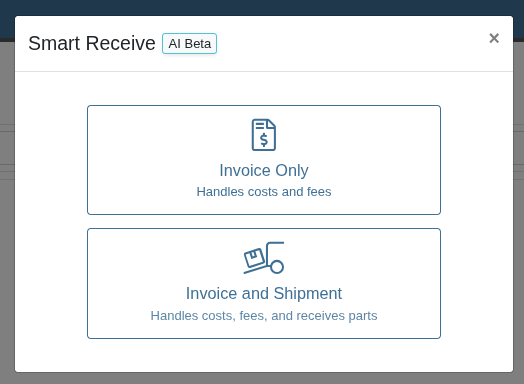
Introducing AI-Powered Smart Receive to End Receiving Chaos and Protect Margin
Lorem ipsum dolor sit amet, consectetur adipiscing elit. Suspendisse varius enim in eros elementum tristique. Duis cursus, mi quis viverra ornare, eros dolor interdum nulla, ut commodo diam libero vitae erat. Aenean faucibus nibh et justo cursus id rutrum lorem imperdiet. Nunc ut sem vitae risus tristique posuere.
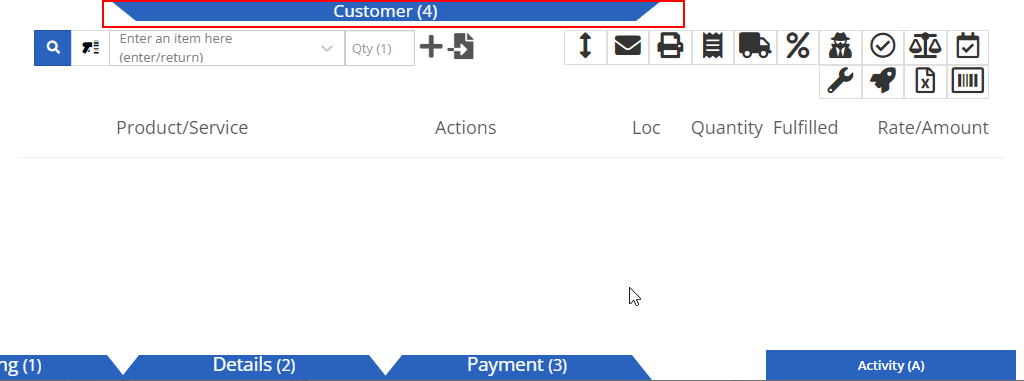
The blue Customer tab allows users to enter the necessary Customer, Contact, and Machine information associated with the Sales Order. When a user creates a Sales Order, the initial tab opened is the Customer (4) tab. The Customer tab opens automatically when the hotkey 4 is pressed on the POS. The remaining information on the Customer tab includes changing the Source of the Sales Order, Type, Salesperson, Location, and Consignment type. These features appear underneath the Customer, Contact, and Machine drop-down menus of the Customer tab.
Users can add a customer to the Sales Order by following these steps:

Users can add a contact to the Sales Order by following these steps:

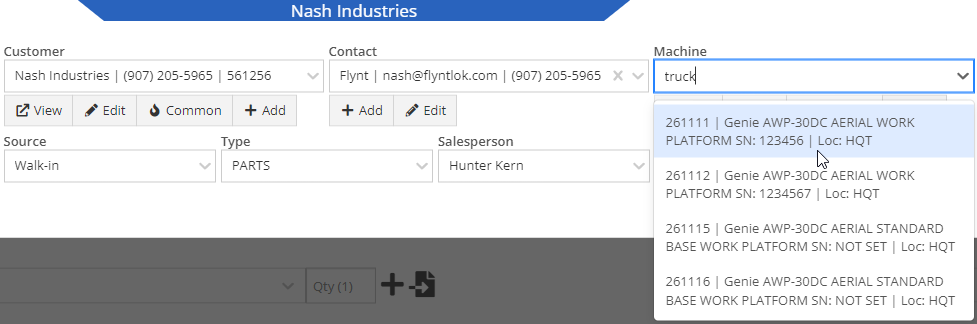
Users can click the View button underneath the Customer and Machine dropdown menus to access their coinciding dashboards. These dashboards will automatically open in a new tab.Customer dashboards give a detailed report of customer information such as customer ID, contact, company, deposit, payment, rental, recent sale orders information, and much more.Machine dashboards give a detailed report of machine information such as machine ID, physical location, description, work order, sale order, recent notes, finance information, and much more.

Located next to the View button, the Edit button allows users to edit customer, contact, and machine information in their coinciding dashboards.

The Common button, located below the Customer and Machine drop-down menus, can be used to view commonly purchased parts by customer and machine. Once selected, either the Customer Common Parts or the Machine Common Parts pop-up menus appear where users can scroll and add desired parts to the Sales Order by clicking the + button in the left column. Added part items will propagate in the line items of the Sales Order.

The Add button, located below the Customer,Contact, and Machine drop-down menus, can be used to add new customers, contacts, and machines quickly from your POS. After clicking the Add button, the Quick Create Customer, Add Contact, or Quick Create Machine pop-up menus appear where you can fill in the required information and press the Create button to finish the add new process. The Quick Create Customer and Quick Create Machine menus have an Advanced option that directs the user to the Manage Customer and Manage Machine menus in a new tab. These menus offer more detailed customer and machine information options.

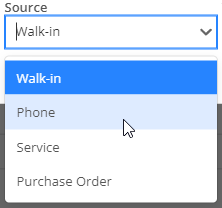
In the blue Customer tab of the POS, click the Source tab down menu and select to change the source of the customer affiliated with the sales order. The source provides an origin of the customer and default options in the Source tab down menu include Walk in, Phone, Service, and Purchase Order.
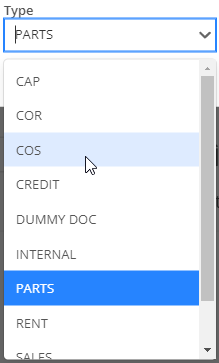
Click the Type tab-down menu and select the desired type to change the type of sales order. The type helps Flyntlok classify this sales order. You can also set up your sales order ID’s to contain a prefix / suffix that contains the type designation.
Click the Salesperson tab-down menu and select the salesperson being credited for the Sales Order.

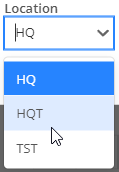
Click the Location tab-down menu and select the desired location of where the Sales Order took place to change to the correct location. You can also set up your Sales Order ID’s to contain a prefix / suffix that contains the location designation. The default location is whichever location your user is assigned to.
.svg)
.svg)