How Can We Help?
Rental Administrative Settings
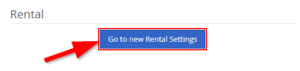
Users can set Rental Administrative Settings pertaining to Billing, Reporting, Templates, Durations, as well as Store Hours. Correctly setting these options allow for easier and more efficient Rental Contract creation as well as optimizing contract detail information. Users can access Rental Administrative Settings by going to the Wrench in the top right -> Flyntlok -> Flyntlok Details -> Scroll to the Rental area, and click the Go to new Rental Settings button.
General Tab
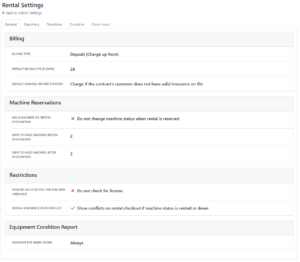
In the General Tab, users can set Billing, Machine Reservations, and Restriction settings. Billing options include whether rental billing should include Deposit, or Continuous billing, as well as the duration of the Billing Cycle. To change, just click on the settings box.
Machine Reservation settings include options to set the machine to On Hold status when rental is reserved or not, as well as the number of days to hold machine before and after a reservation.
Restriction options include requiring a valid license for Machine Checkout, such as warning if license is expired or missing.
Reporting Tab
In the Reporting Tab, users can set options for PDF printing and emailing, such as the Contract Title, Contract Body, Contract Comment, Contract Footer, Legal Terms for RPO Contracts, Location, Estimate, Values, and even Font Size. Click into each area and enter the appropriate settings text.

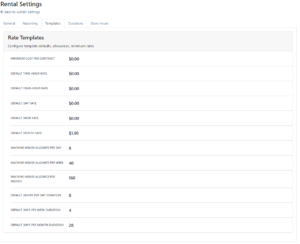
Templates Tab
In the Templates Tab, users can configure template defaults, allowances, and minimum rates. These rental template options include Minimum Cost per contract, Default Rates for specific durations, as well as setting caps on allotted time for specific durations.
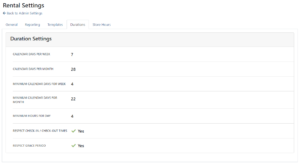
Durations Tab
In the Durations Tab, users can edit duration units per different periods of time, including Calander days per week/month, minimum calendar days for week/month, and minimum hours for a single day. Users also have the option of changing if the Respect Check-In / Check Out and if the Grace Period will be respected or not.
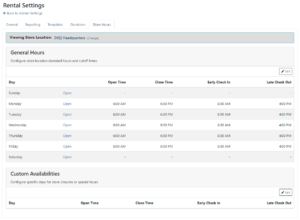
Store Hours
In the Store Hours Tab, users can configure store location standard hours and cutoff times as well as configure specific days for store closures or special hours. To change store location standard hours, just click the Edit button in the top right and check the Open boxes, as well as fill out the Open Time, Close Time, Early Check In, and Late Check Out fields. To add custom Availabilities, click Edit in the right, and then the + button before filling out the time slot information. After making changes, click Save.