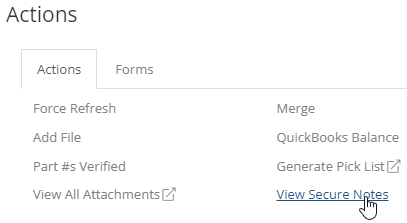
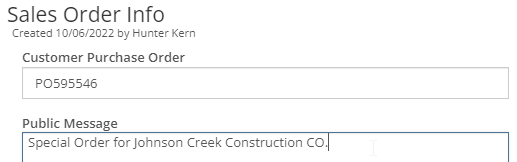
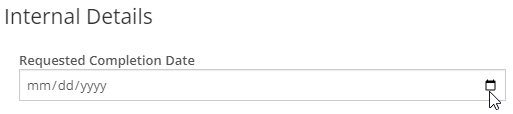
The blue Details Tab (2), accessible at the bottom of the Point Of Sale or by pressing the hotkey 2, allows users to edit, and enter Sales Order Information such as a Customer Purchase Order number, Public Message, a Requested Completion Date, and an Internal Message. Other SO Detail Actions and Forms can be taken and found in the right part of the Details Tab and include forcing refresh, attaching and viewing files, verifying all part #s, merging SOs, checking QBs balance, generating a pick list, and viewing secure notes.

Users can add a Customer Purchase Order to an SO by entering a Customer Purchase Order number, given by the customer, into the space provided on the blue Details Tab.

Users can add a Public Message to an SO by using the space provided.
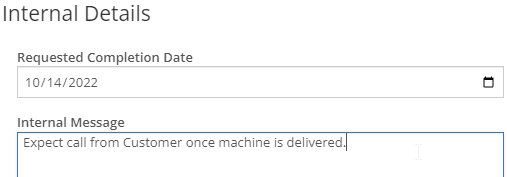
Users can add a requested completion date by using the space provided in the Details tab.
Users can add an Internal Message to the SO by using the space provided.
Users can force a refresh by clicking Force Refresh in the Actions sub-tab located far right in the blue Details Tab and a refreshed confirmation notification will appear saying that sales order information refreshed.

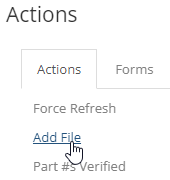
Users can upload a file and attach files to the SO by clicking Add File located in the Actions sub tab. After clicking, the Upload a File pop-up menu will appear with a space where files can be dragged to, a comments section, and a Choose Files button.

Users can verify all Part #s on the SO by clicking Part #s Verified in the Actions sub tab. After clicking, a notification will appear in the bottom right corner of the POS to confirm that all Part Numbers have been verified and all cautionary symbols on every item line will disappear.
Click 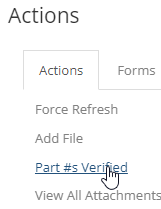 then, it will change all parts that have
 ![]() to
to ![]()
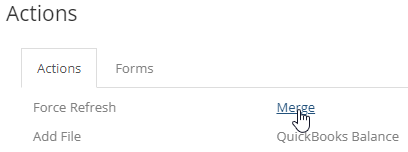
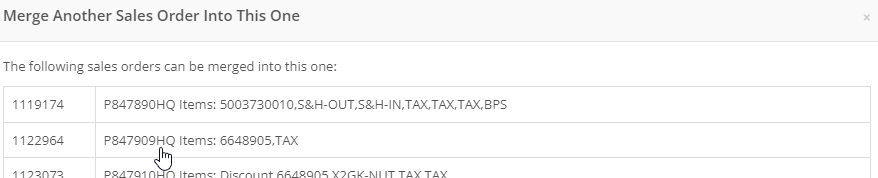
Users can Merge other SOs to the current by clicking Merge in the Actions sub tab. After clicking, a Merge SO pop-up page will appear. Select by clicking on which other SOs you want merged with the current and a notification will reassure your selection before completing the merge.
Users can view QuickBooks Balance by clicking QuickBooks Balance in the Actions sub-tab.
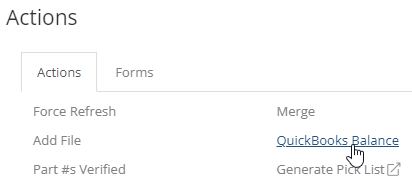
Users can generate Pick Lists by clicking Generate Pick List. Once clicked, an automated Pick List will open in a new page. This pick list includes company information, date, and invoice ID in the heading, customer and their contact information, public and internal messages, and list of pick items in the body. The list of pick items will include each item’s Description, Quantity, Bin and Item numbers.


Users can create and view Secure Notes by clicking on View Secure Notes. Once clicked, a pop-up page will appear with a password, a space provided to write notes, and a save button. Once saved, the secure notes can be viewed here as well.