Flyntlok is rolling out an updated tax calculation engine across the application, which is intended to improve performance and provide new functionality for tax calculation. While the tax calculated on each Invoice will stay the same, configuring taxes has changed to use a few new workflows. The most signfication change is that applied tax rules will now be driven by Product Type.
All Flyntlok customers will have their rules migrated automatically and previous location configuration will be reflected with the new tax engine.
The new tax configuration page can be found under the wrench icon > Flyntlok > Flyntlok Settings, then scroll down to click the Tax button. The primary tab on this page will be "Tax Rules," where you can view and edit your taxes.

Each row here represents a tax rule, with its tax rule details underneath. The search filters on the side allow you to search for specific tax rules based on your specified filters.
You can add a new tax rule by clicking the "Add New" button at the top shown above in red, and add a new line onto an existing tax rule by clicking the button shown in green. You can edit existing tax rules & lines with the "Edit" options. For a simple tax rate change it's good practice to add a new tax rule line with a unique date range, to preserve historical tax calculation, rather than editing the rule itself. When adding a new line to an existing rule, a defaulted check box will deactivate any previous lines.
A tax rule that is set with "Default: Include / Exclude" will determine whether or not it will be applied to newly created invoices. Additionally, you can override this setting on a per-location basis for each store.
Adding a new tax rule will allow you to set a variety of fields:

Tax product types and product categories can be created and deleted from the "Tax Qualifiers" tab. However, they must be unlinked to existing tax rules, items, models, and open Invoices, before they can be deleted.

The new tax engine will change how tax rules apply to items. Instead of assigning tax rules directly to an item, you are instead able to assign it a single "Product Type" (and optionally, a category.) Then, each tax rule line has a specific set of product types that it applies to. Please note, the item's product type must match at least one of the tax rule's product types for tax to be calculated against it.

Tax product types and categories can be edited on each tax rule line on the Tax Rule Editor page, and new ones can be created from the Tax Qualifier tab on that page.
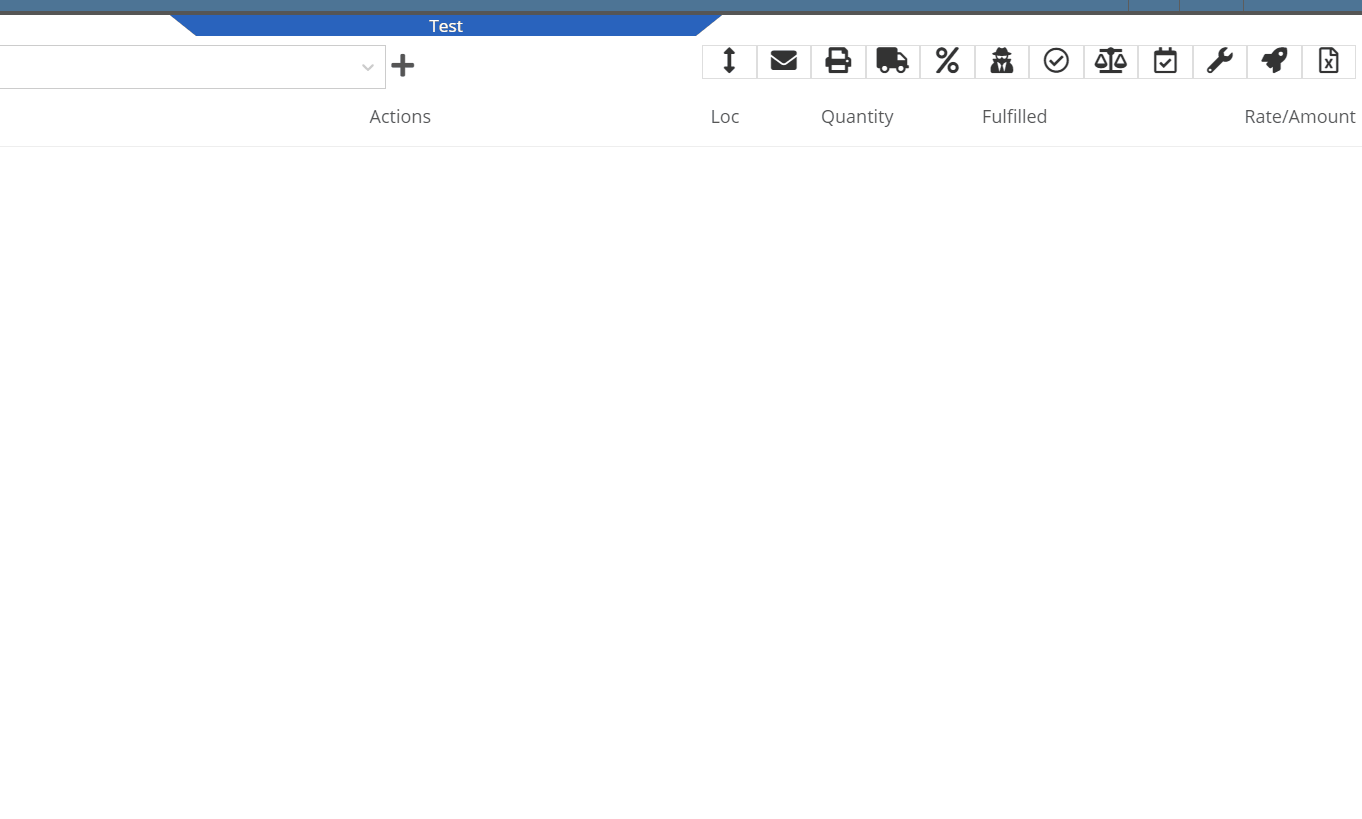
Tax settings for an Invoice can be viewed by clicking the scales icon at the top right. Here, you can edit the transaction date of the Invoice (1), in addition to the applied tax rules. The minus button (2) will remove an applied tax rule, while the plus button (3) from the search results will add it.

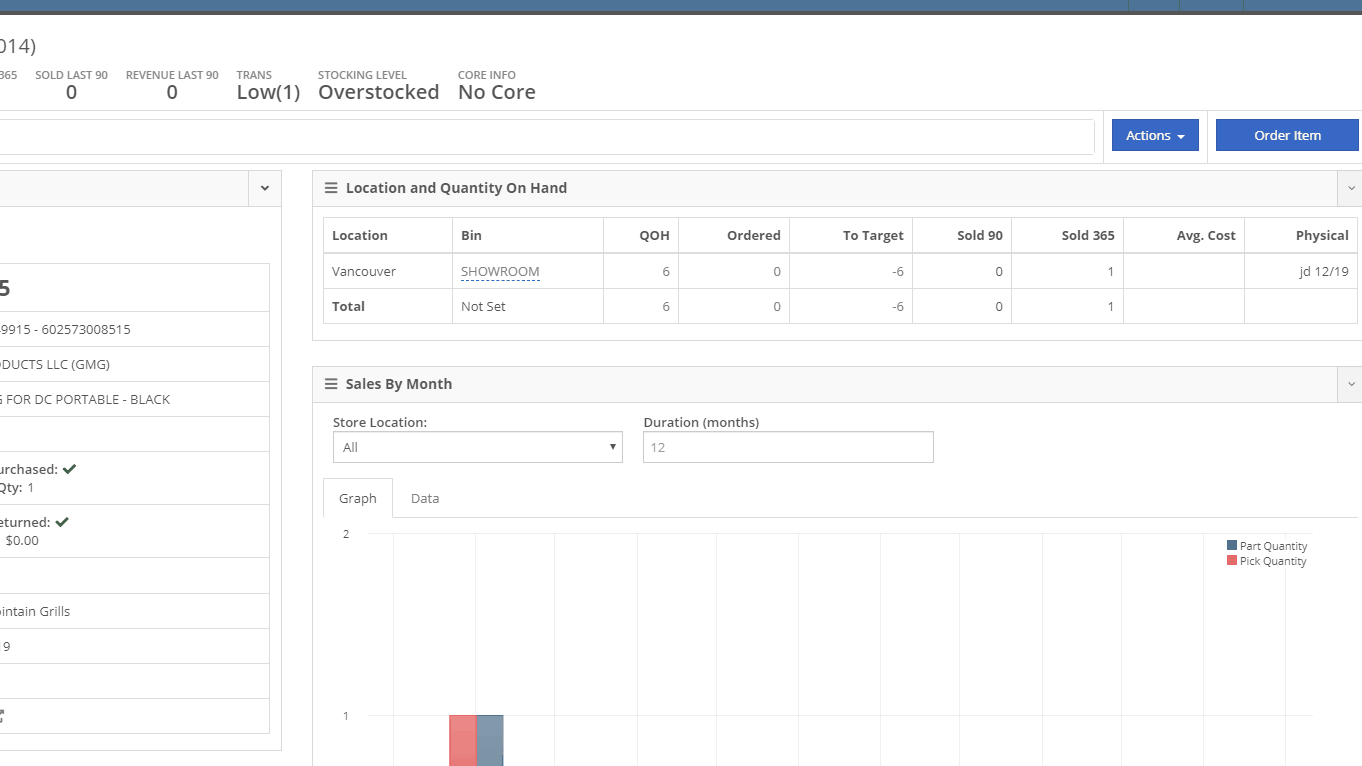
Each Invoice detail line will now inherit a product type from its item or machine, which controls which tax rules on the invoice are calculated against it. That product type can be edited by clicking on the text underneath the Invoice detail line's price. Please note, if an invoice detail has no tax product type configured, it may have the incorrect tax calculated against it.


On Invoice Tax Rule modal, you can also save a rule from that invoice to a customer permanently by selecting "Save to Invoice & Customer" from the drop down.

Tax rules applied to individual customers can be found by going to the customer's dashboard and clicking Actions > Edit > Edit Customer Tax Rules.
Here, you can select the rules to use, and which store locations they apply to. If a customer has configured tax rules, then they will always take precedence over global defaults.


You're in luck!
Flyntlok allows customers to have tax types default to them or allows you to set them exempt!
