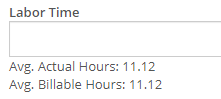
Just above the Labor Time field is the Labor Type field. This field will allow you to select one of your current labor types as a default for this item. The cost of the labor type selected and the labor time that is input will be used to find estimated labor times and cost or sub labor times and costs on work orders.
Here is an explanation of all the cost fields and how they are calculated:
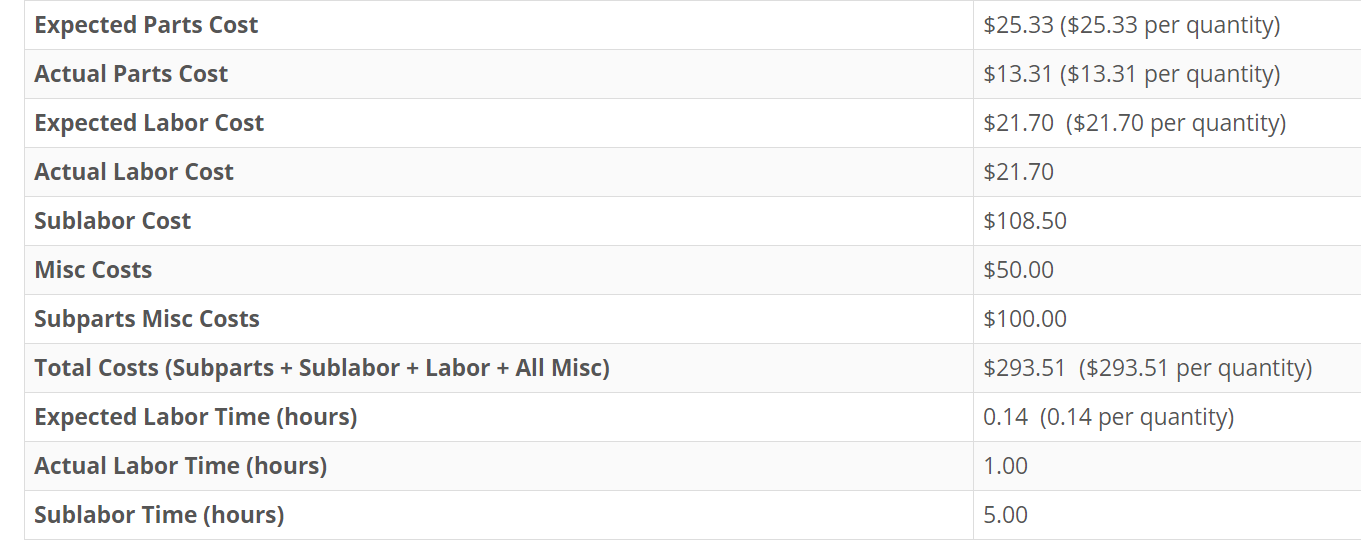
- Expected Parts Cost: This will be the current cost of the item being built multiplied by the quantity being built.
- Actual Parts Cost: This is the cost of all the items on the BOM being multiplied by their needed quantity and summed together.
Your expected part cost should equal the cost of the actual parts. This will help to accurately reflect the cost of that item.
- Expected Labor Cost: We calculate this by taking what is set in the Item Labor field for the item being built, multiply it by the quantity being built, and then multiply it by the cost of the labor type that is set for that item.
- Actual Labor Cost: This will be the billable time that is set on the work order, multiplied by the labor types' cost that is used to record the billable time.
- Sublabor Cost: Using the labor time and labor type that are set for all item's on the BOM, we multiply the quantity needed of the item by the set labor time, and then multiply that result by the cost of the labor type.
- Misc.Cost: A miscellaneous cost can be set by item. This cost will include anything that is not a labor cost or subpart cost when building or purchasing the item. This will field will take the miscellaneous cost of the item being built and multiply it by the quantity being built.
- Subparts Misc. Costs: This will take all item's on the BOM, multiply the needed quantity to build by the amount set for Misc. cost of that item, and sum this result from all the items.
- Total Costs: This will sum subparts, sub labor, labor, and all miscellaneous costs to show how much this or these items cost to build.
- Expected Labor Time: This will be the time that is set in the Labor Time field of the item, multiplied by the quantity being built.
- Actual Labor Time: This will be the time that is clocked in on the work order.
- Sublabor Time: This will be the labor time that is set on each item of the BOM, multiplied by the quantity of that item needed to build.
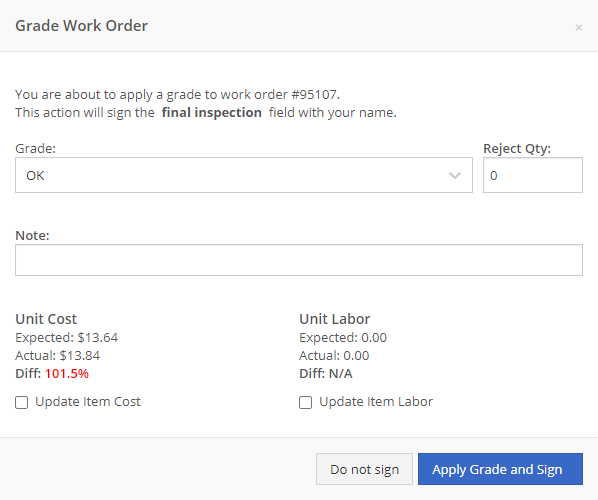
Along with the new reporting, you can now update the cost and labor time of an item when the final grade is submitted.
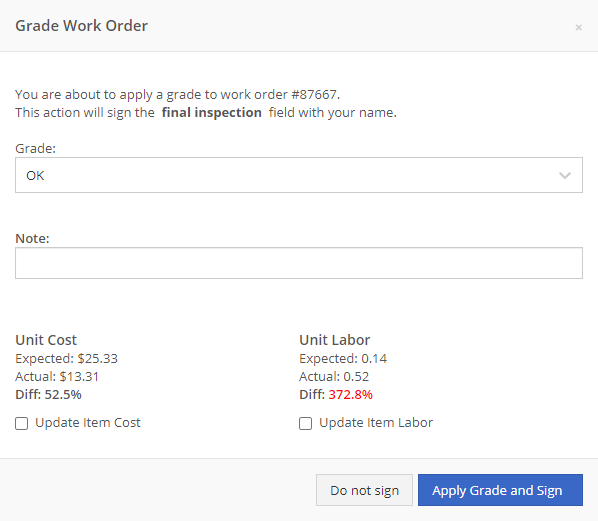
When the final grader goes to sign off on the work order, they will get two comparisons.
- Unit Cost will show what is currently set as the cost (Expected) vs what the subparts cost is per item (Actual).
- Unit Labor will show what is currently set in the item labor field for the item (Expected) vs how much time was clocked on the work order per item (Actual).
Below both comparisons are checkboxes that default to not checked. Checking these will update their respective field for the item being built. If the work order is linked to a sales order, we will go out and update the cost of that item on the sales order.
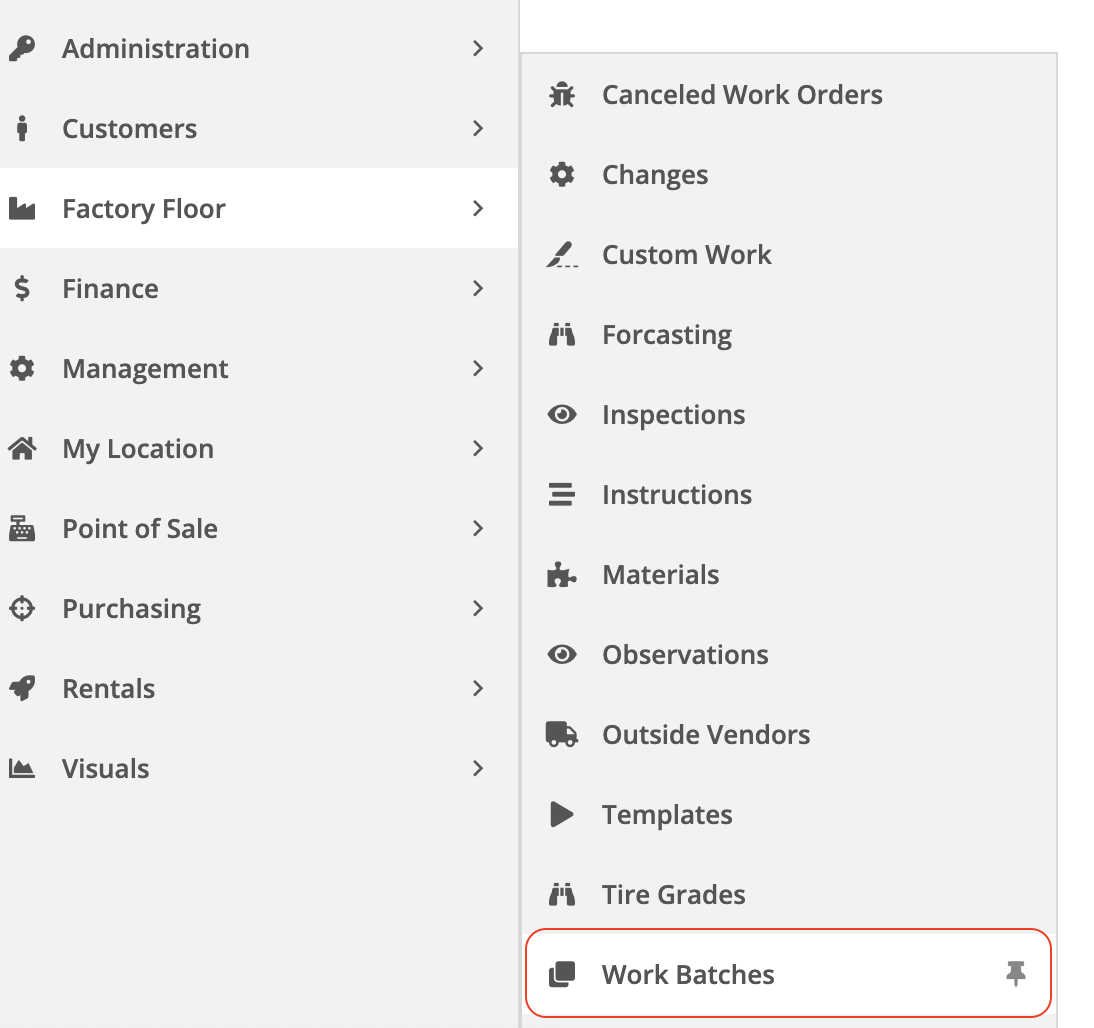
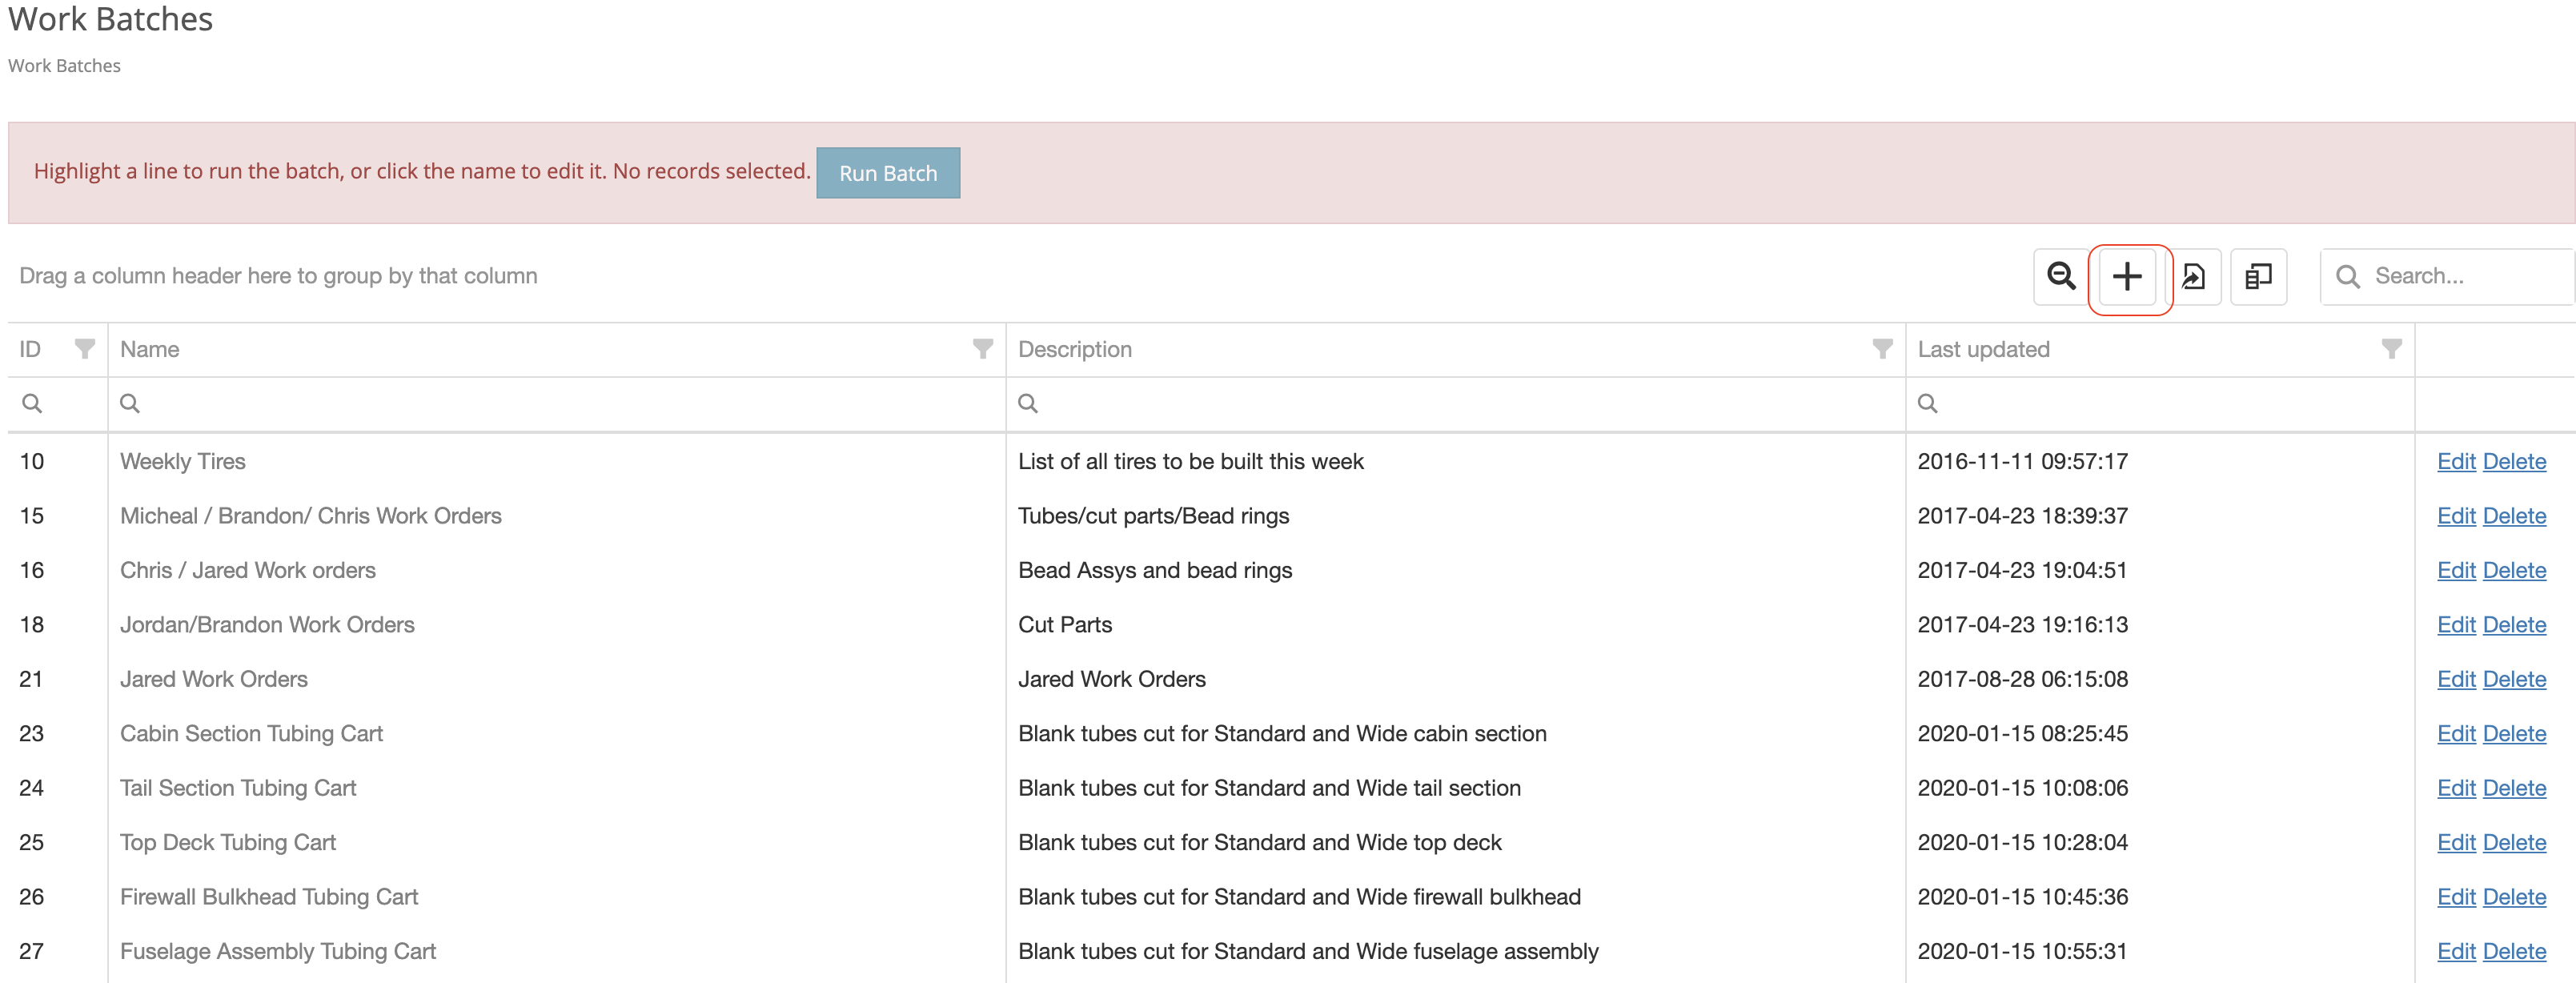
- On your left-hand menu, click "Work Batches" under the Factory Floor drop-down.
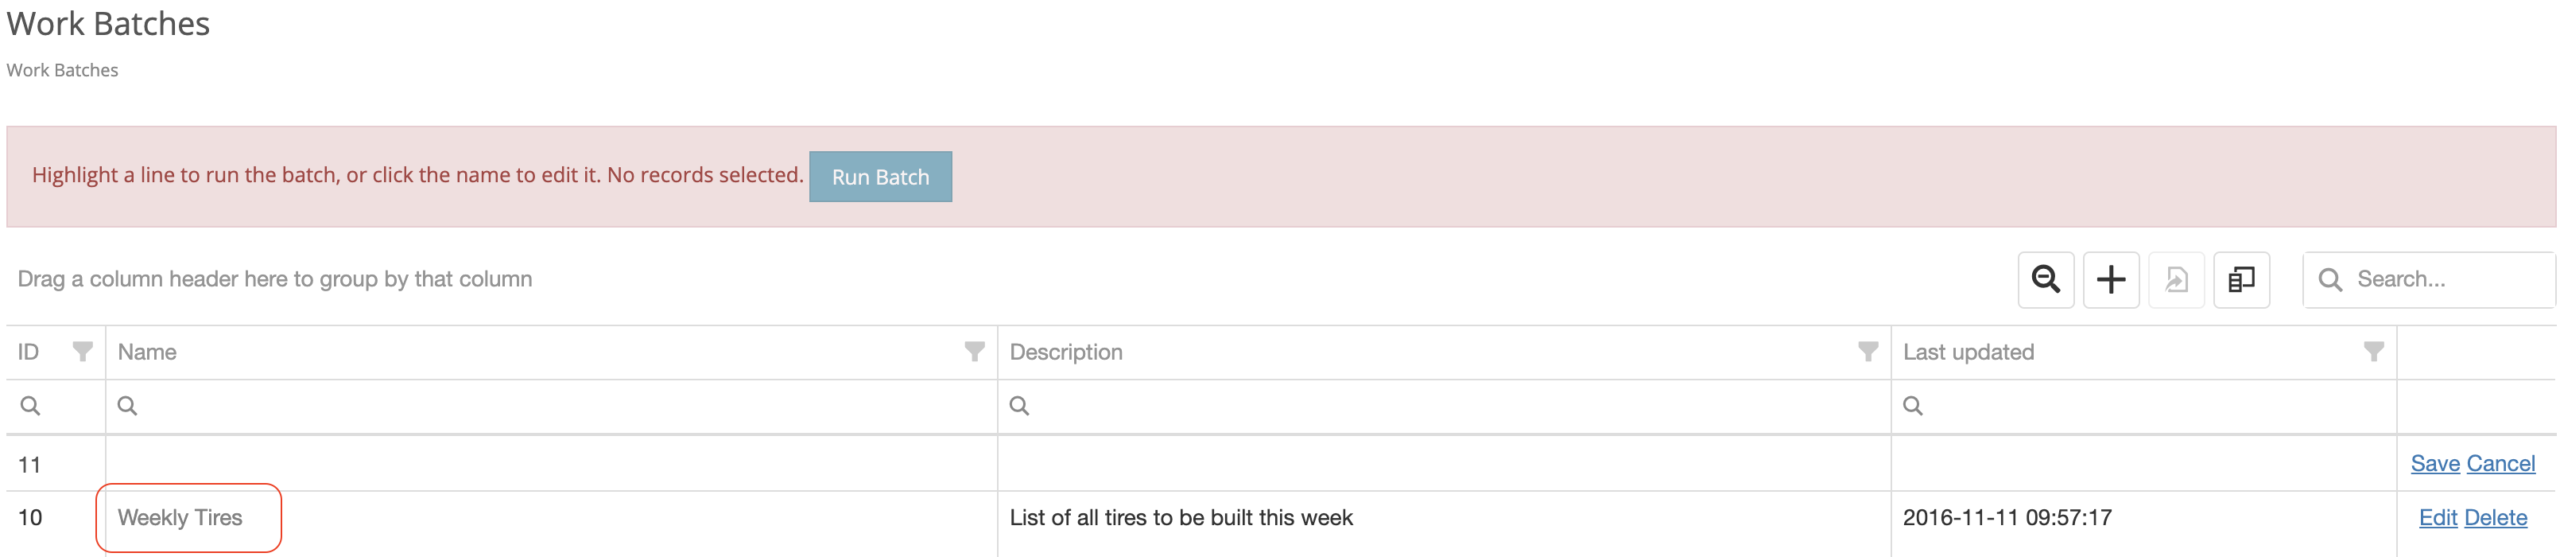
- Here you can add new work batches by clicking the '+' icon, which will add a new row for you to enter an ID, Name, and Description.
- After naming the batch order, click the name so you can add parts to be built under this batch.
- Here you can add parts to be built under this batch by clicking the '+' icon. You can also add a user for this work order to be assigned under the "Assign To" column.

- To run a batch work order, go to your list of work order batches, highlight a work order batch by clicking the row and click the "Run" button. This will create work orders for all parts under this batch work order.

- Add Note- Use this to add a note to the work order.
- Edit- Use this to edit the work order.
- Delete- Use this to delete the work order.
- Branch- This will split the current work order into two new work orders with different quantities. All information and progress will be copied.
- New Change- This is used to create a new record of change. After the change record is created it can be found under the Changes/Observations tab on the work order dashboard.
- Report Observation- Use this to upload an observation. After the observation is added it can be found under the Changes/Observations tab on the work order dashboard.
- Timing- Work Order timing information.
- Audit Log- Detailed work log for the work order.
- Clock Ins- List of all clock-ins for this work order.
- Print- Print work order.
- Print Label- Use this to print off a label with the Work Order number, Part number, and description.
- Tablet View- Use this to view the work order in tablet view.
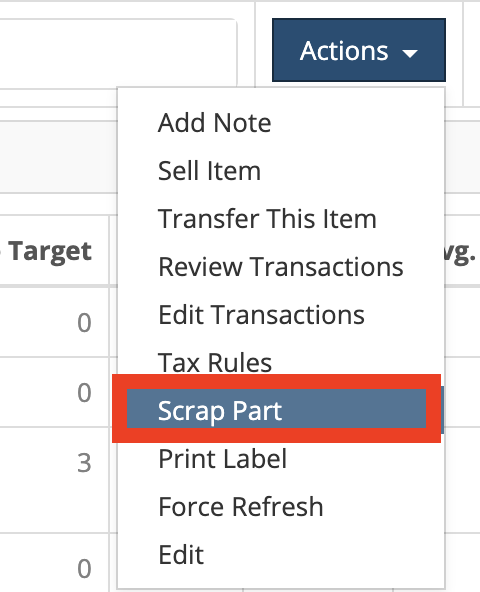
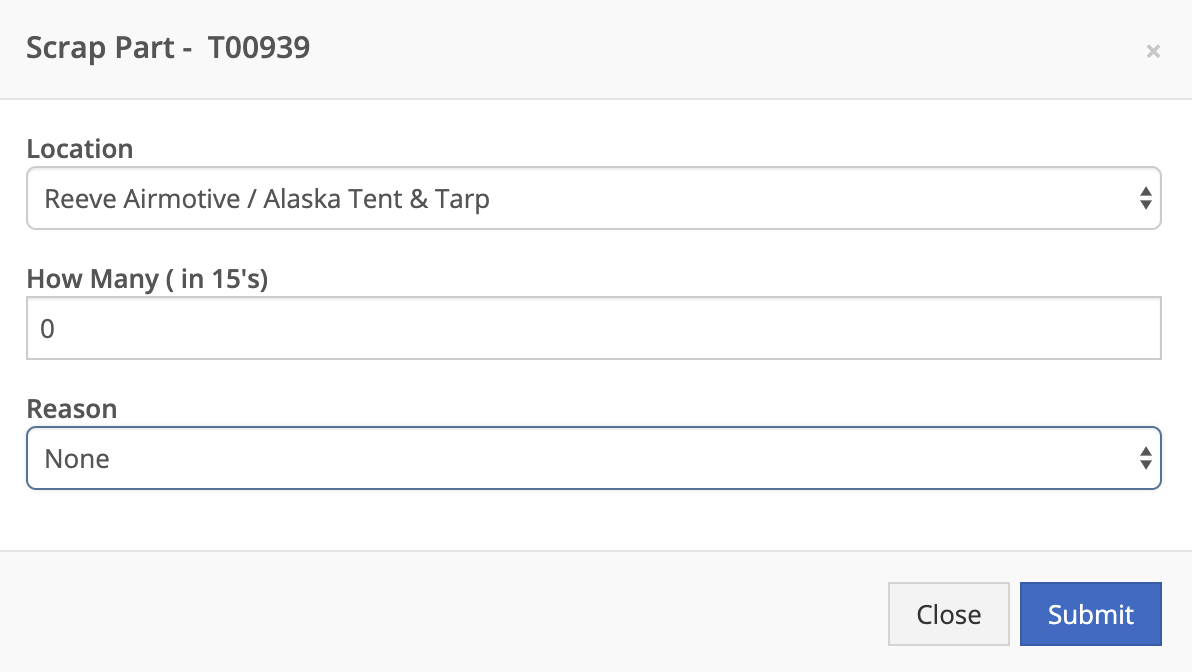
- From Item Dashboard click the Actions dropdown and click Scrap Part:
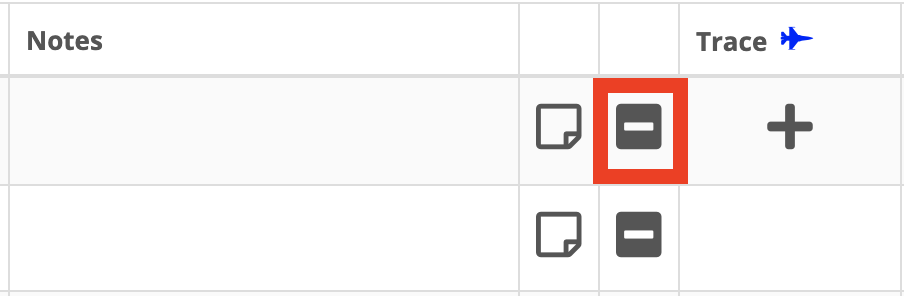
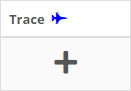
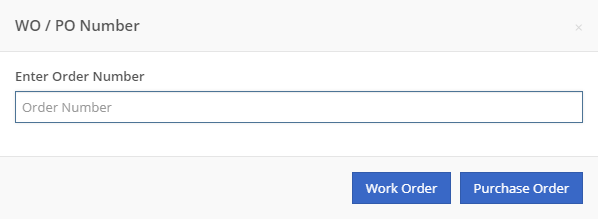
- From the MRP Work Order click the '-' icon, which will only be visible when the user is clocked into the work order:
- Here you can select the location, quantity being scrapped, and reason for scrapping.
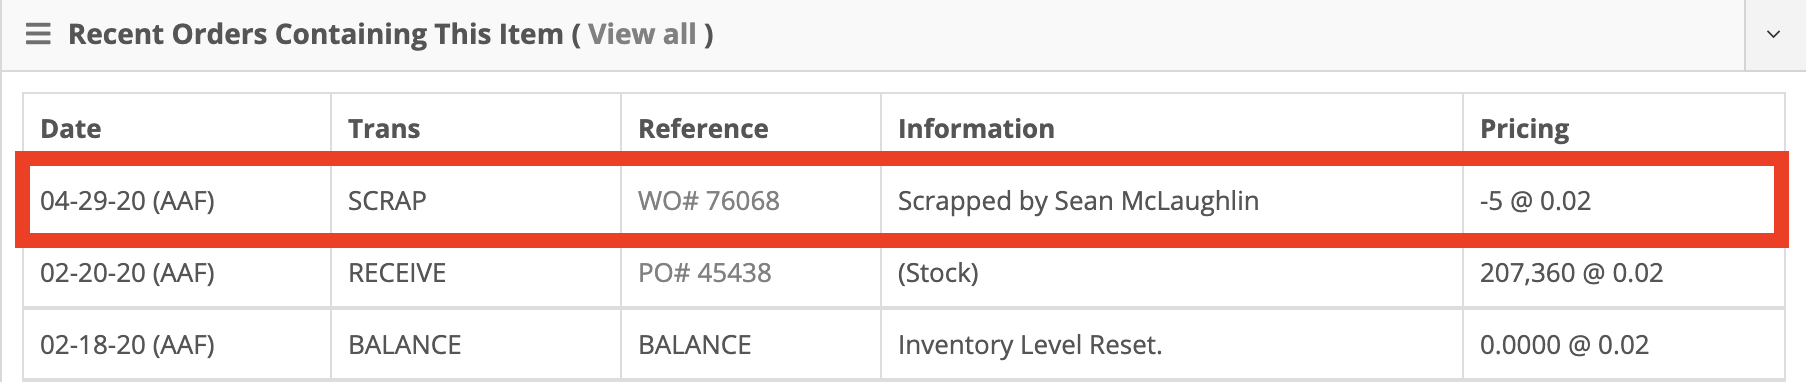
- Scrap will show up on the Recent Orders Containing This Item section.
- Once you are clocked into a work order click the + under the Trace column then enter the trace info linked to this part.
- If a step requires measuring click the pencil under the Input column and enter the measurement. If the measurement is within the threshold set, then the field will turn green, if the measurement is outside the threshold it will turn orange. To move on to the next step click the green box with a checkmark.
- Once all steps are complete, click the Grade tab. Here you can click the Sign Assembled/Welded button to apply a digital signature of the employee who manufactured the item.
- The last step will be to stamp the final grade of this work order (only users with specific permissions will be able to grade work orders). Work orders can be graded with the following: OK, Blemish, Reject, Experimental, and Rework. If some of the items are being rejected, please input that amount into the Reject Qty box to the right of the grade box. After choosing the correct grade, click Apply Grade and Sign.
There are a couple of ways to build an MRP work order. If you need to build an item for stock:
- Go to the Item’s Dashboard you would like to build
- Click the ‘Build’ dropdown menu and click New Work Order. Here you can determine the due date, priority, and mod options. You can also assign the work order from this screen.
- Click Submit Work Order.
If it is a special order item, add the item to a sales order for the customer, then, when the sales order is moved out of draft, we will autogenerate a work order for that item.
- On your left-hand navigation click the New option and then select BOM Template.
- From here fill in the Part Number, Description, Drawing Number, and if it Requires First Article. Click Create Work Order Template.

- Now that you are on the work order template page you can add details under Bill of Materials.
- Part Number: Part number being used in this BOM template.
- New Instruction: Use this field to add a new instruction to the BOM template.
- Existing Instruction: Use this field to type the existing instruction ID. You can use the instructions Assistant to find existing instructions.
- Per Quantity: Quantity of the item need to build the templated item.
- Mod Name: These will show up as options when creating a new work order.
- Order: This is the order that the mod names will show up when creating a work order
- Price: This is the price of the Mod that will be added to the final invoice.
- Group: You can use this to group items together. This is visual only.
- Mod Group: This can be used to add mod options to the same "Mod Group". This is useful when only one mod option can be selected for a work order.
- File: This is used to show a file is attached to the BOM template.
- Notes: Use this as a note field.
- Click Save BOM Changes.