Here are a few useful tips to keep a note of when navigating Machine Purchase Orders:
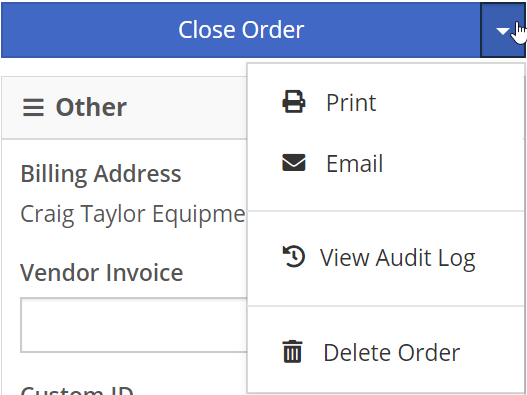
You can print, email, or delete an MPO by clicking the downward-facing arrow on the right side of the blue button.
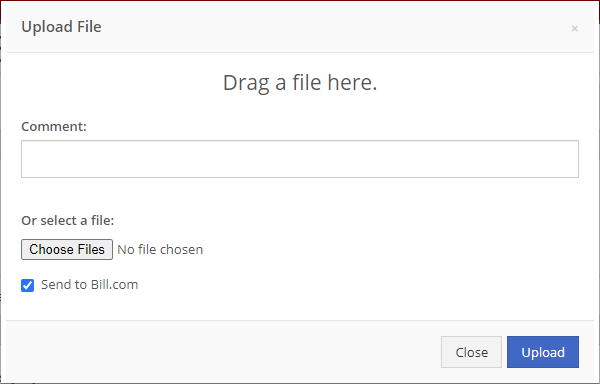
We allow you to attach any number of files to the purchase order and give you the option to send those attachments to Bill.com.
Here is a short video going through a Machine Purchase Order!
Below the detail lines of the MPO, you can add any fees or credits that are associated with this order. There are two options to add these fees.

- Proportional: You can add fee/credit lines that are a percentage of the total amount of the order.
- Fixed: Adding a fixed fee/credit will be a set amount that the user will input.
- Name: You can add a name/description for the line.
- Trash Can: Clicking the trashcan icon will delete that fee/credit.
Once you have the machine purchase order created, you will be taken to a draft MPO. There are a few things to take note of on the header of all MPOs.
- MPO ID: The MPO ID gets generated on creation and can be used as a reference number for your company. We do allow for the ID to be edited and reflect a custom ID.
- Total: This will reflect the sum of all the machines and fees that are added to the MPO.
- Status: The status of the MPO will change depending on the actions taken.
- Draft: A new MPO that can be edited.
- Review: The MPO has been submitted for review.
- Approved: The MPO has been approved by management.
- Ordered: The order has been submitted to the vendor.
- Partially Received: Some of the machines on the MPO have been received.
- Received: All machines on the MPO have been received.
- Closed: All machines have been received and the MPO is queued up to post to QBO or has already been posted.
To change statuses, you will need to click the blue button in the upper right of the MPO.
The General Information of an MPO will prefill with information of machines being put onto the order and the location that the order is being created. But all of this information can be edited.
- Vendor: These fields will prefill with any available information from the vendor of the first machine added.
- Responsibility: This will default with the location that the user is creating the MPO or the location of the machine purchase requests. The responsibility is used to show the store that is receiving the machine or the store that will be the point of contact for the machine if it is customer-bought.
- Shipping: This will default with the shipping information of the store that is responsible.
There are multiple different ways to create a machine purchase order. They can be created as blank slates or with machines already populated.
- The quickest way to create one is to navigate to the left-hand navigation and hover over the New tab and select Machine Purchase Order.This will create a blank slate MPO (Machine Purchase Order) that can be built for any vendor in the system.
- The next few options to create MPOs are to use Machine Purchase Plans. One way to create a purchase plan is to use the Machine Purchase Request option under the New tab.
- The next option is to select Purchase Similar from the machine dashboard. This option can be found under the Complex Actions drop-down.
- Finally, if you navigate to a model's dashboard, you can find the New Purchase Request button under the model information section.
To turn these machine purchase requests into an MPO, head over to the Purchasing tab on you left nav and select Machine Purchase Plans.
From this report, select the machines that you want to order and click the
Purchase button.